Monday, June 30, 2014

Thai coconut sticky rice - Rice pudding with coconut sauce - International Food Challenge - Step by step


Usually, when I recieve the recipes for challenges, I will start to prepare after 15 days of recieving it. But when Sangeetha Priya of "Nitha's Kitchen" gave us the thai recipes, I didn't waste any of my time and prepared the dessert immediately. The reason was , I had mangoes in my pantry , begging me to prepare something. Another reason, this dessert was in my to do list for so long. Thank you Sangeetha. Thai suisine, is always my favourite. Be it the red thai curry or golden curry, or crab rice, love the thai cuisine to the core. We had a small Thai restaurant near our house in Irving. It was so cute with very good ambience and decor. I would always want to try thai red curry. I have also tried thai chicken curry from Sangeetha's list, but have not pictured it.Enjoy this simple heavenly pudding with fresh cut mangoes.

Preparation time : 15 minutes
Cooking time : 20 minutes
Serves : 4

Ingredients:
For the sticky rice:
1.Sticky rice or raw rice - 1/4 cup
2.Water - 2 cups
3.Second milk of coconut - 1/2 cup
4.Sugar - 2 tbsp
5.salt - a pinch
6.Mangoes - few pieces to serve with.

For the sauce :
1.First milk of coconut - 1 cup
2.Corn sflour - 1 tsp
3.Sugar - 1/4 cup


Method:
* Wash and soak the rice for atleast 5 minutes. Grind coconut in a blender and extract the first milk and reserve for the sauce. Add more water to the coconut and extract the second milk out of it.Cook the rice in boiling water for atleast 10 minutes or untill it is mashed well.Add salt to the rice.When the rice is cooked well, pour the second milk of coconut on top and sugar, let it soak well, till we prepare the coconut sauce.
* While the rice is soaking in the coconut milk, we can prepare the coconut sauce. Take little corn flour and add it to the first milk of coconut.Let it dissolve in it well. Pour the coconut milk in a pan and cook it till it becomes thick. Now add sugar to the sauce and mix it.
* The coconut sauce is ready now.While serving, take a bowl, scoop out the rice and drizzle the coconut sauce. Serve with freshly cut mangoes.Adjust sugar to your taste.

Notes:
* Traditionally, this pudding is cooked using sticky rice, which we get in Asian supermarket.Since I was not able to get hold of that, used normal cooking rice.
* The rice has to be cooked very well.
* The coconut sauce has to be thick to seve.
* We can also flavour it up using cardamom.
* Fresh mangoes works well with this pudding.
* Adjust sugar according to your taste.


Friday, June 27, 2014

Chidhambaram Muttun Curry - சிதம்பரம் கறி குழம்பு - step by step

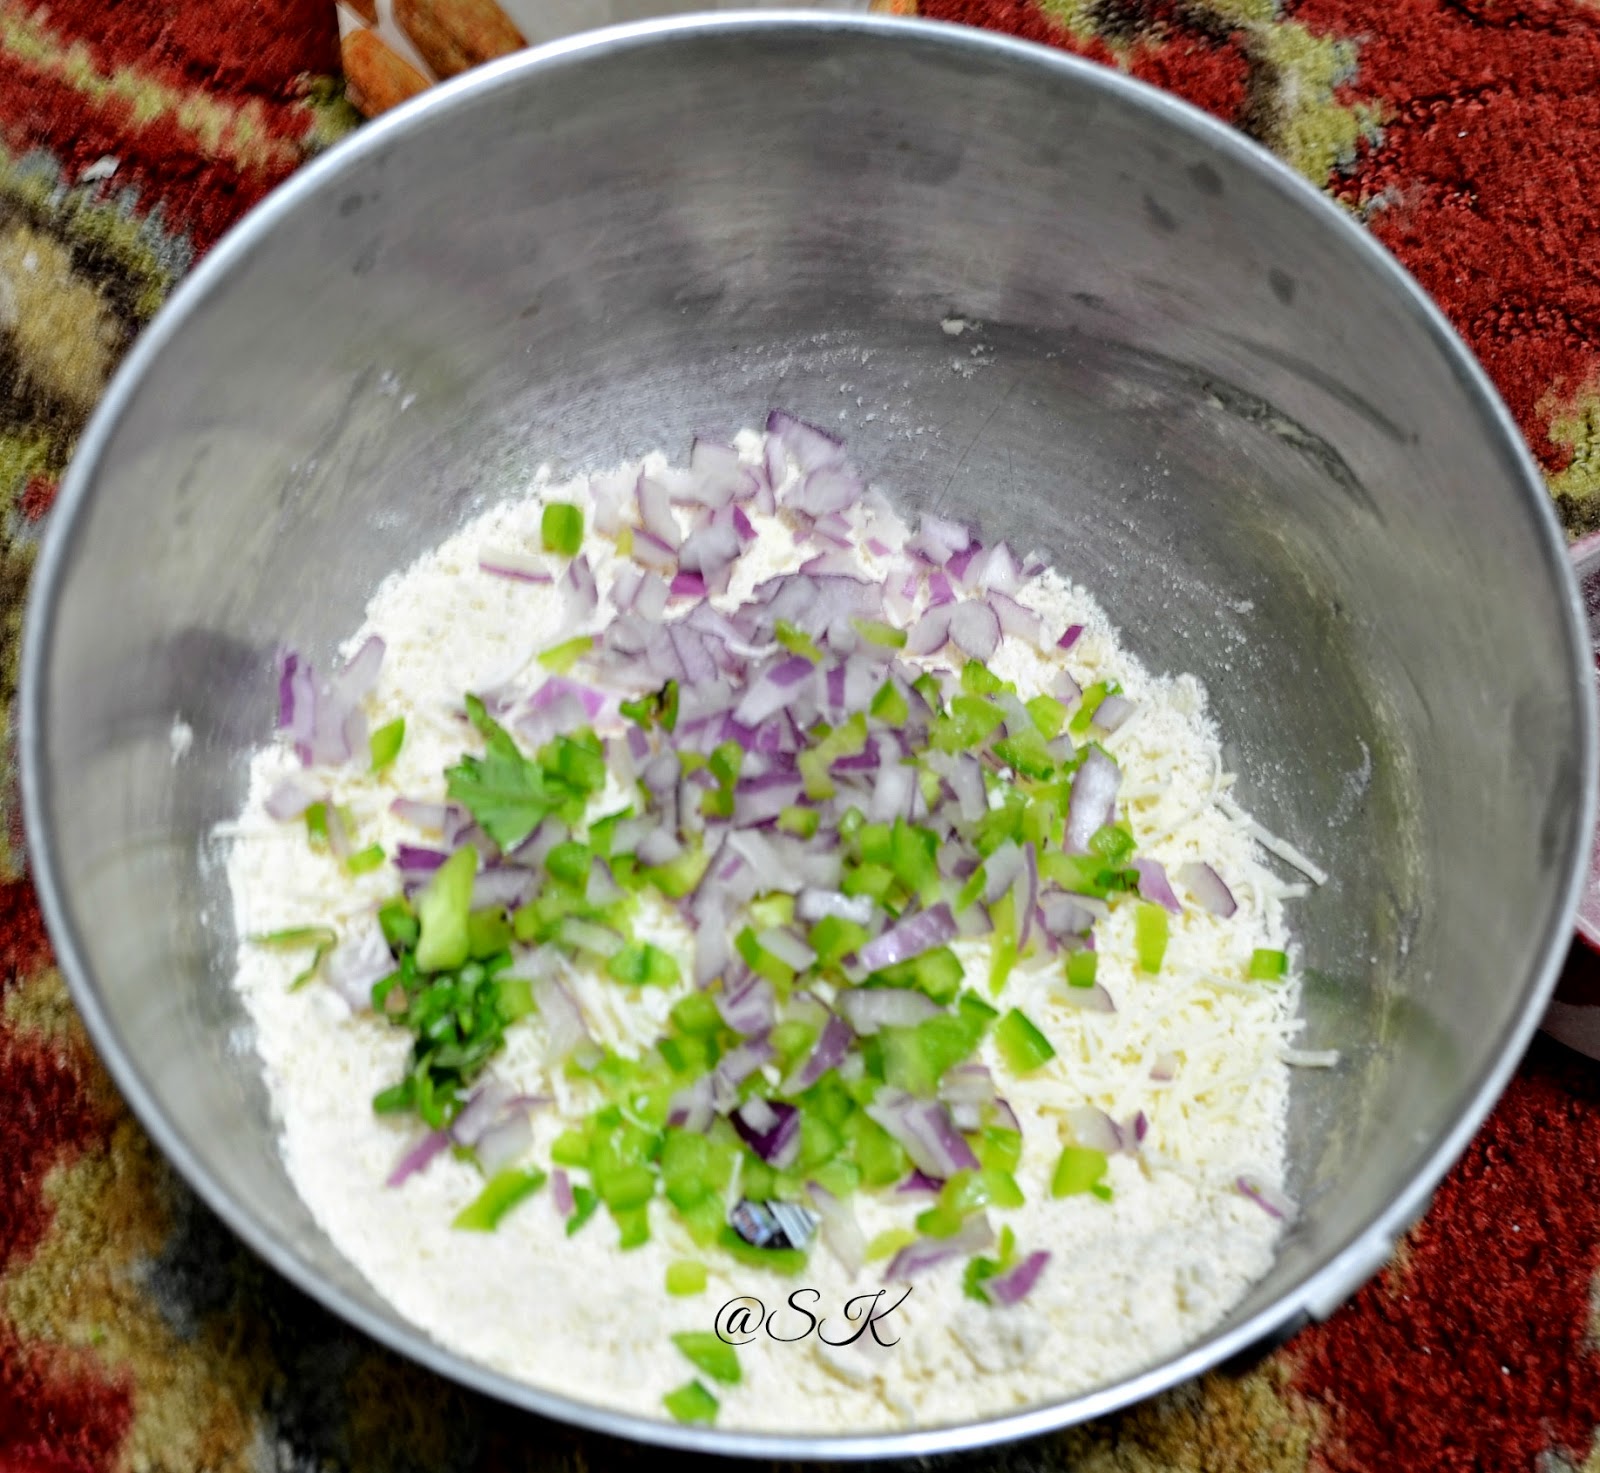
      My MIL is from Chidhambaram district. Chidhambaram is famous for its temples,food etc. Whenever she makes this curry, it has the same taste, which will never change.Its her kai pakkuvam. Whenever , I prepare his mom's recipes H will be very happy. I noted the exact recipe, when I was in vacation last year.She usually, prepares all curries and rasams using "Kazhani thanni" - its the water, which we get from washing rice. This water has all the nutrients from the rice , which is Vitamin B12.It also enhances the taste of the curry.


Ingredients:
1.  Mutton - 2 lb 
2. Onion - 1 (big)
3.Tomato - 1 (big )
4.Turmeric powder - 1/4 tsp
5.Chilli powder - 2 tbsp
6.Coriander powder - 1 tbsp
7.Ginger garlic paste - 1/2 tbsp
8.Garli pods - 4
9.Curry leaves - few
10.Raw papaya - a piece (optional)
11.Fennel seeds - 1/2 tsp
12.Oil - 4 tbsp
13.Salt - to taste
14.Rice - 2 cups ( To extract water after washing)
15.Water - as needed


To grind:
1.Coconut - 4 pieces
2.Pepper corns - 1/2 tsp
3.Cumin seeds - 1/2 tsp
4.Fennel seeds - 1/2 tsp
5.poppy seeds - 1/2 tsp

Method :
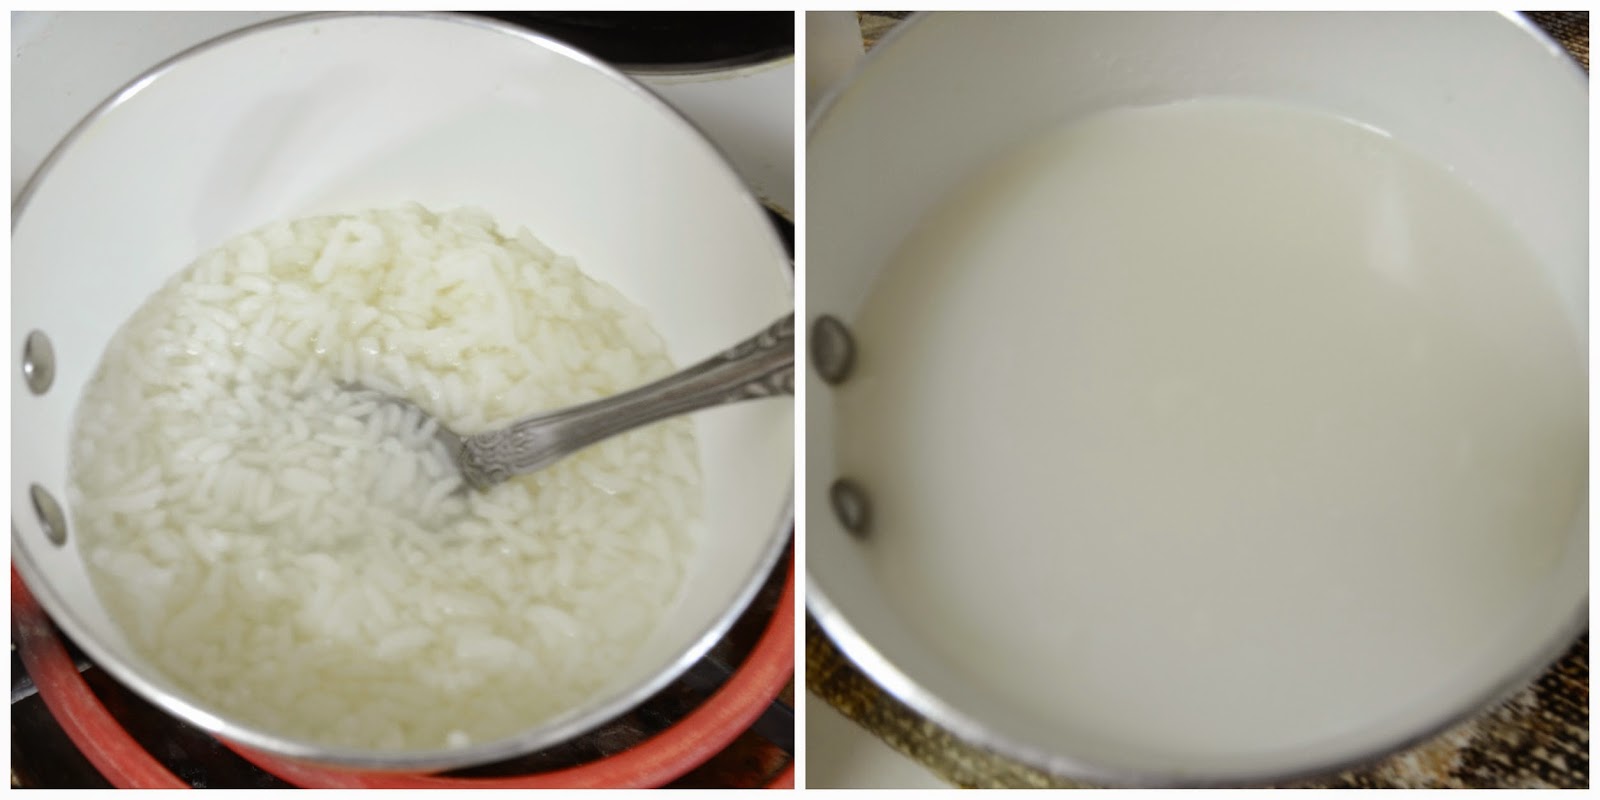
* Wash rice .Strain the water from the rice and keep it aside. Similarly ,wash the rice twice.Reserve the water from the washed rice. This water is going to be used to cook the mutton . The water from washed rice has vitamin B12 ,also it gives a good taste to the curry.Wash the mutton twice with water.Take a pressure pan, add little oil. when the oil is hot, add ginger garlic paste and saute it for a minute. Now dump in the mutton pieces and saute for a while.


* When the mutton is sauteed, add the chilli powder,turmeric powder and corinader powder.Mix it well. Add a piece of raw papaya. This acts as a meat tenderizer and cooks the mutton soft. If you don't have raw papaya , just skip the step. Now add the rice washed water  to the mutton and cook for 2 whistles or untill the mutton is cooked well. Reserve the rice water to add it to the curry.


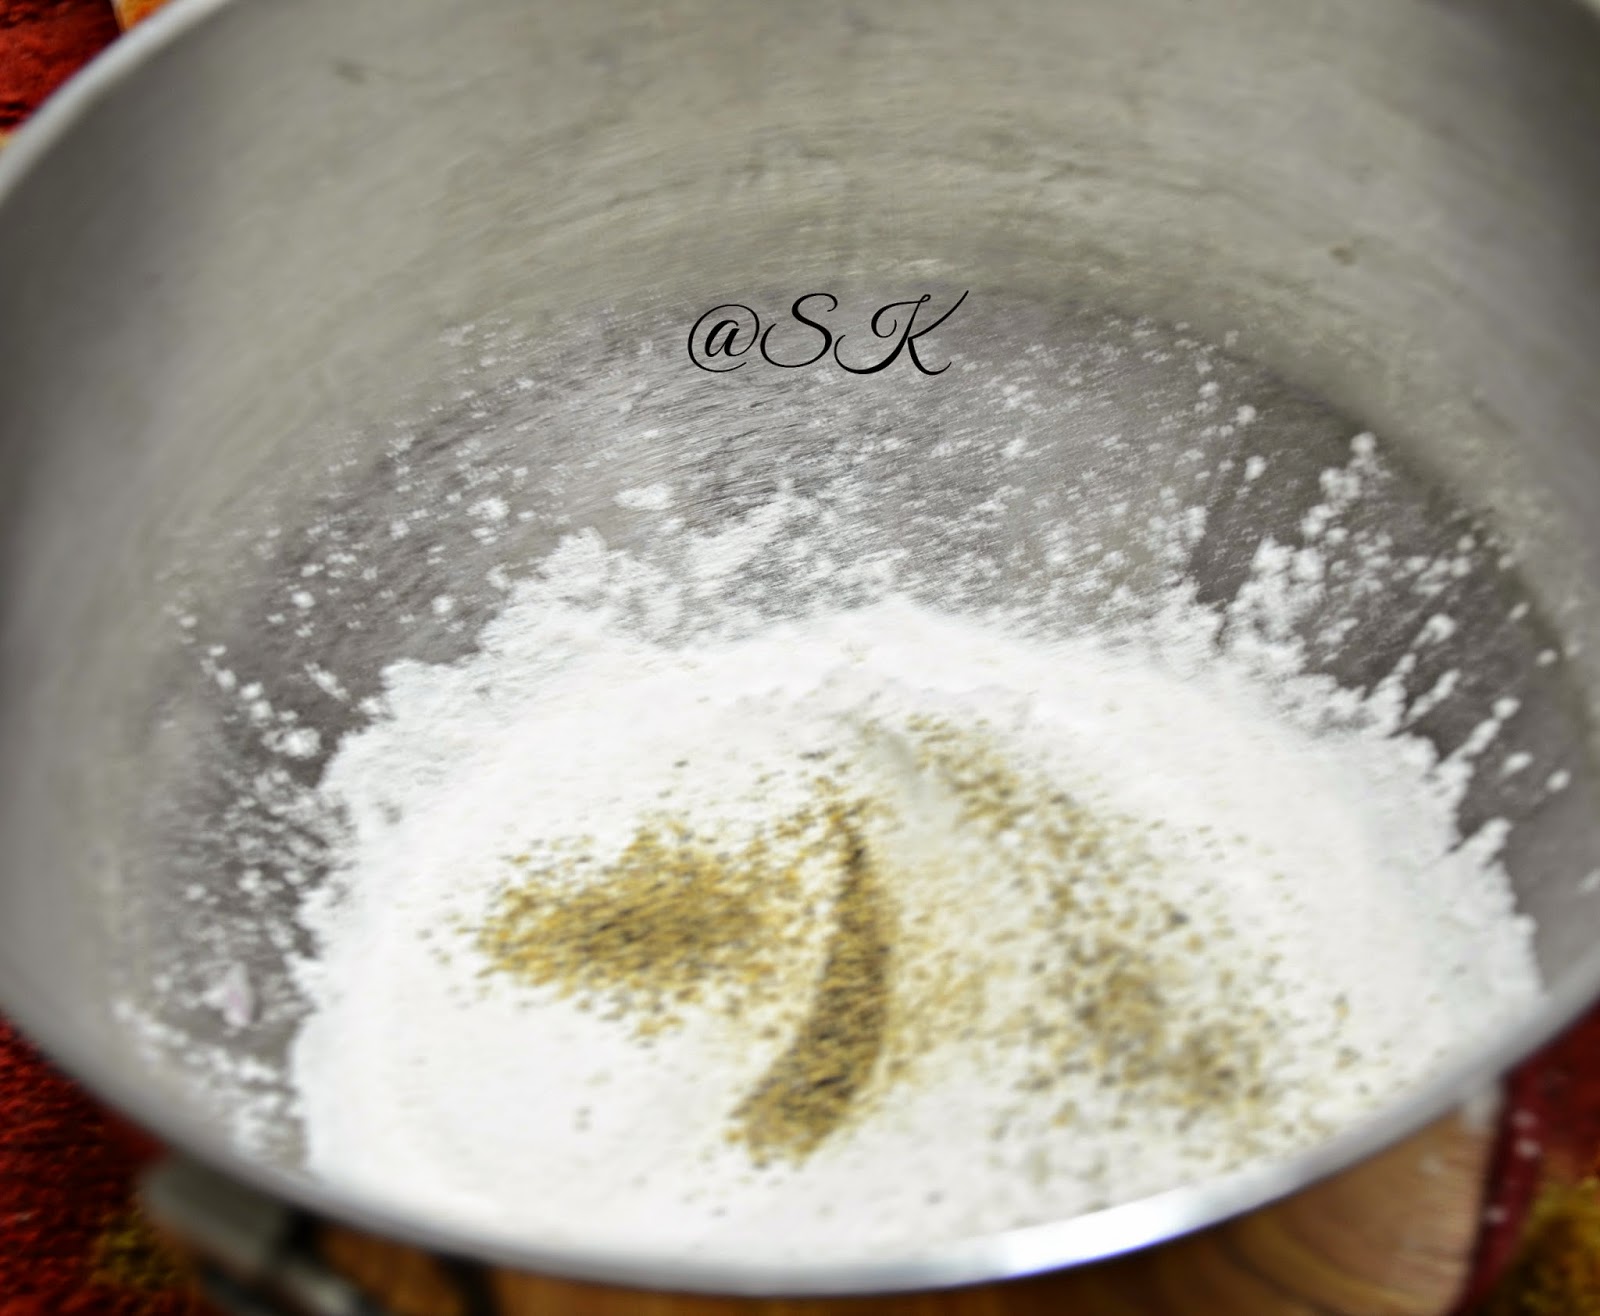
* Soak poppy seeds in hot water for about 10 minutes. Take a blender and add coconut piecs,cumin seeds,pepper corns,fennel seeds and soaked poppy seeds. Blend them well.

* The grinded mixture should be smooth to the touch, if not the curry will not be thick.The paste should be like that in the picture.

* Take a pan, add oil.Temper with fennel seeds. Crush the garlic pods and throw it in the pan along with curry leaves.

* Saute sliced onions in the pan. Sprinkle little salt .Saute the onion ,till it turns translucent.
* Now add chopped onions and saute it. Sprinkle some more salt for the tomato to cook.When the tomatoes are cooked well, add the grinded coconut paste to the pan. Mix the coconut well. Turn the flame to medium low, as coconut has the tendancy to separate its fat, when cooked in high flame. Now add the remaining (Washed rice water ) to the curry and bring it to our consistancy.


* Remove the cooked papaya pieces from the cooker.Add the masala to the pressure pan, which has cooked mutton. Let the mutton blend with the masala.Cover and cook the curry for another 5 minutes or untill the oil comes out. Adjust salt to taste.Garnish it with some chopped cilantro. Turnthe flame off and serve with rice or roti.
Notes:
* Adding the water from washed rice, will enhance the flavour of the curry.If you don't want, just add plain water to the curry.
* Mutton has to be cooked well, before adding the masala.
* The curry has to be medium consistancy, not so thick or bot so watery.
* Adjust the spices according to your taste.
* If you want a thick curry, then increase the amount of coconut.
* Adding crushed garlic pods will give a very nice aroma to the curry.


Tuesday, June 24, 2014

Crispy Bitterguard Chips - Tea time snack - step by step

       Its been a week, since I posted something in my blog. Bit busy with something. Now I was in a compulsion to post some thing, This chips, I prepared some time ago.Wanted to post the recipe today.This chips is similar to the one, we get in "Adayar Anandha Bhavan". The crispness ,lies in the slicing and drying process. The basic rule, is to remove the moisture from the bitterguard. It tastes too good as such, or you can have it with tea.


Ingredients:
1.Bitterguard - 1 (big)
2.Besan flour - 1/4 cup
3.Rice flour - 2 tbsp
4.Chilli powder - 1 tsp
5.Salt - to taste
6.Oil - for frying
Method:
* Wash and slice the bitterguard thinly using a serrated knife.The thinner, we cut the bitterguard,   crispier the chips will be.
 * Take a clean kitchen towel and spread the sliced bitterguard over it in shade. The cloth will absorb the moisture and make the bitterguard dry.We can also place the slices on a paper towel, it will absorb the moisture well.
 * Take a bowl, add chilli powder,besan flour, rice flour and salt. Mix them well and dump in the sliced bitterguard into the bowl.Toss them well , so that the masala coats the bitterguard well.

* The mixture should look like this. There should not be any water content. If we have moisture in the bitterguard, then the chips will turn into bajji.
* Fry the bitterguards in medium hot oil, till it becomes crispy.Don't fry the bitterguard in very hot oil, then the chips will turn black soon.

* Drain the excess oil on a paper towel. Store the chips in a air tight container . 


                                        Enjoy these crispy bitterguard chips for your tea !!!

Notes:
* The bitterguard has to be dry to get a crispy chips.
* The amount of masalas can be altered according to our taste.
* Don't add too much besan flour, then it will become like bajji.
* We can also add some corn flour instead of rice flour.
* These chips, stay fresh for atleast a week, when we store in air tight container.


Monday, June 16, 2014

Cheese and Onion Scones - Baking Partner's Challenge.

    This month, Archana of "Mad Scientist Kitchen"    gave us scones and tart for this month challenge. I chose scones, as it was so easy to make :) Scones were popular breakfast among the English people.It is so soft and cheesy. The original recipe gave us only cheese. I added some onion,chopped capsicum, it gave a very good flavour to the scones.I didn't have english mustard, so skipped that part. I used my tawa to bake these. You can use your baking pan.This is an eggless version too. So my vegetarian friends can enjoy these.Linking this to "Baking Partner's Challenge started by, "Swathi of "Zesty south Indian Kitchen", 
Ingredients:
  • 225 grms + extra for dusting self rising flour
  • 1 ½ tsp english mustard powder
  • A pinch salt
  • A pinch pepper
  • 50 grms butter, chilled and cubed
  • 100 grms Asiano cheese, grated
  • 1 tblspn basil ( fresh)
  • 100 ml curds/yogurt
  • 50 ml water
  • 1 tblspn oil, for greasing
  • 1/4 cup ,chopped onion.
  • 2 tbsp. capsicum (chopped).

Method:
* Take a circular pan , grease it with butter and flour it.I used my tawa with stainless steel handle.Preheat the oven at 420 degree farenhiet.
* Take a mixing bowl, add flour,salt and pepper powder.Mit it with a spatula.
* Add cold butter to the flour and crumble it. Rub it with our hands to get a crumbly mixture.
* Now,add chopped onion,capsicum and grated cheese.Mix it well.
* Beat the curd well and add water to it to make it buttermilk.Add it little by little to form a non sticky dough. If your dough is sticky, then sprinkle some more flour to make it a soft dough. Flour the work area and flatten the dough into 1/2 inch thicknessed disc.
* Using a knife, divide the dough into 6 triangles or scones. Grease the scones with a tbsp of buttermilk.

* Sprinkle some more cheese on top of the scones .Bake it for 20 minutes or untill, the cheese on top turns golden brown.
* Take the baked scones out and cool them on a wire rack. Serve with coffee .Store the remaining in air tight container.
Scones stays fresh , even after a day, when it is stored in container.
Notes:
* The dough has to be soft. So adjust the buttermilk accordingly.
* We can alter the spices according to our taste.dried basil works fine too.
* I used asiago cheese,instead of cheddar.
* Adding onion,capsicum gives a nice flavor to the scones.

Thursday, June 12, 2014

Chicken stuffed dosai - கறி தோசை - Chicken stuffed Crepes

         Are you bored of making regular gravies and biriyani with chicken ? Then this is for you. Chicken is minced ,cooked and stuffed inside the dosai. In future, has plans to stuff idli too.Tastes great as such. We can prepare the stuffing ahead of time and use it. We can replace chicken with mutton. Mutton has to be cooked prior to adding it to the masala.Make your sundays, special preparing this dosai for breakfast.
Preparation time : 10 minutes
Cooking time : 15 minutes
Yield : 4 - 6 dosas

Ingredients:
*1 cup.Dosa batter 
*500 gm.Chicken (boneless)
*1/2.Onion
* 1.egg
*1/2 tsp . Ginger garlic paste
*1tbsp .chilli powder
*1/2 tsp.Turmeric powder
*1/2 tsp.Garam masala
*1/4 tsp.Pepper powder
*1/2 tsp.Fennel seeds
* few.Curry leaves
* few.Chopped cilantro
* 2 tbsp.Oil
*1/2 tsp.Salt

Method:
* Wash and clean the chicken. Tenderize the chicken as shown in the pictures.This will make the chicken soft .Take the tenderized chicken in the blender and grind it .
* Take a pan, add oil and temper with fennel seeds and curry leaves. Now add finely chopped onion .Sprinkle little salt to cook the onion fast. Now add turmeric powder,chilli powder and saute it well. Wait till the raw smell leaves the onion. But make sure,we don't burn the masala.
* Now add the minced meat to the onion and cook.When the minced meat is cooked, add garam masala and pepper powder. Adjust salt to taste and garnish with cilantro.
* Cool the meat mixture for a while. Take egg in a bowl, and beat it. Take the meat masala and mix it with the egg. Egg acts as a binder,if you don't want egg, just skip it and use only the masala.Heat a tawa and spread a laddle of dosai batter .Drizzle some oil around the dosai.
* Spread a spoon full of chicken masala on top of the dosai .Drizzle oil on top of the masala.When the dosai is cooked, flip it around carefully.After a minute,take the dosai and serve with any chutney ,sambar or serve it plain.
Dosai tastes best, when we serve it hot !!!

Notes:
* We can replace chicken with cooked mutton.
* Tomato can be added, but make sure the final masala has to be dry.
* Instead of fennel seeds, we can also use fennel powder.
* Egg acts as a binding agent, so don't skip .
*Amount of masala can be altered according to our taste.
* We can also cover the dosai and cook ,like we do for kal dosai.

Tuesday, June 10, 2014

Arabic Dates and Honey Cake - Soft and goey cake for parties - Home Baker's Challenge - Step by step

       For this month's "Home Baker's Challenge" started by "Priya Suresh" , Rafeeda of "The Big Sweet tooth" throwed us a challenge on "Arabic Bakes". Arabic bakes includes rich desserts anyd cakes. Out of the list, "Arabic date and honey cake", grabbed my attention. As it had a uniue procees of pouring syrup over uncooked cake and bake. This step simply awed me. So thought of giving it a try. Thought the recipe itself called for 1/2 cup flour, I halved the recipe and used 1/4 cup flour. Now I regret for the halving,because it tasted so heavenly, and the cake got over soon. Rohith to me "Mom, this is the best cake ,you ever did. When we open a bakery, this cake should be there in the menu". I was in cloud nine. Within few minutes, 3/4 th of the cake vanished.The cake was melt in mouth type. The syrup got through the cake and made it utterly moist and fluffy. I kept a piece outside for the next day. It stayed moist still. I would highly recommend this cake for anyone. Would be perfect for any party as a dessert.

Prep time 10 mins
Cook time 20 mins
Total time 30 mins
Author: The Wanderlust Kitchen
Serves: 8

Ingredients
For the cake:
* 3 tbsp oil
* 1 1/2  eggs
* 2 tbsp. brown sugar
* 2 tbsp. white sugar
* 1/4 tsp. vanilla extract
* 1/4 tsp. baking powder
* 1/4 c. all-purpose flour
* 1 tsp butter for greasing

For the topping:
* 1/4 c. butter
* 2 tbsp. white sugar
* 2 tbsp brown sugar
* 3 tbsp. honey
* 1/4 c. slivered almonds
* 1/4 tsp. cinnamon
* 5 whole, pitted dates
Method:
* Pre heat the oven to 400 degrees Farenhiet .Grease a 6 " pan. Place a parchment circle on it and grease the parchment with butter again. Cut a strip of parchment and line it to the sides of the pan. If you feel ,lot of work, just use a spring pan.I didn't had small spring pan ,so used a normal pan.Because, we are going to pour syrup on top of the cake, when it still baking the oven. This will make the cake to stick to the pan. Using parchment paper, will avoid those mess.
* Take 2 eggs, beat them well. Remove 2 tbsp of egg from the mixture.Now our 1 1/2 egg is ready.Take a pan, add egg,sugar and brown sugar. Beat them well for atleast 5 minutes or till it is pale yellow and creamy.Add vanilla and stir.


* Add baking powder to the flour and mix it. Now sprinkle the flour in 2 additions. Let the batter be lump free.Add oil at the end and mix. Since I ran out of butter ,replaced with 3 tbsp of oil. Adding oil, has made the cake so fluffy and light.
* Pour the batter to the pan. Tap it twice to release air bubbles. Bake it for 10 minutes, or untill, the outer surface changes to golden brown, but still the inner part is uncooked.

* Mean while, take a pan, add butter and melt it.Now add sugar,brown sugar ,honey and stir. The syrup will turn creamy.At last add cinnamon powder .

* When the cake is golden brown on outside, but still uncooked inside,Approximately after 10 minutes of baking, pour the hot syrup on top of the cake.The syrup will penetrate into the cake and to its sides.The cake, would have beautifully absorbed the syrup.
* Bake the cake for another 10 minutes, or untill the top of the cake looks like caramalized. But make sure , the cake should not become hard. When we touch the cake in the middle, it should spring back. This is the right time to take it out.

* Cool the cake on a wire rack.Flip it around for a minute and release the cake.Flip it back using another wire rack. Cool the cake completely.Garnish with some chopped dates and almonds.Slice and enjoy with your coffee.

Verdict :
  A simple and melt in mouth cake . I would highly recommend to anyone !!!

Notes:
* I have halved the original recipe. So used a 6 inch cake pan. If you have a spring pan, it will work perfect.
* Bake the  cake,with the syrup for 10 minutes or untill the cake turns brown. Don't bake so long, then the cake will become hard.
* I have replaced butter with oil, it gave a lighter texture to the cake.
* We can store the cake on counter for 2 days, but I bet it will get over within minutes.

You might also like

Related Posts Plugin for WordPress, Blogger...